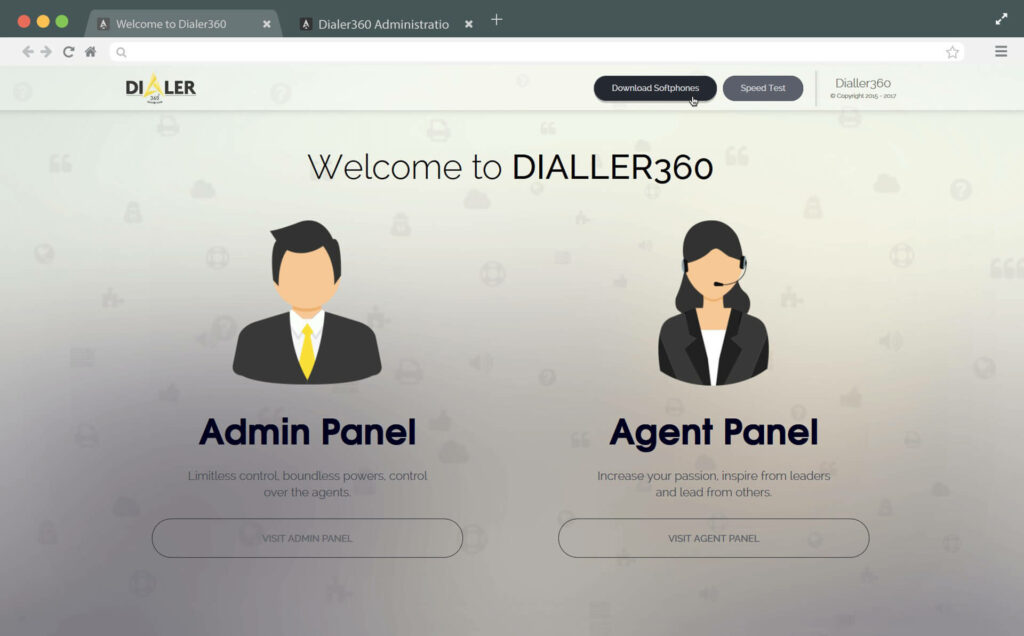
Step # 1
Login to admin panel
2
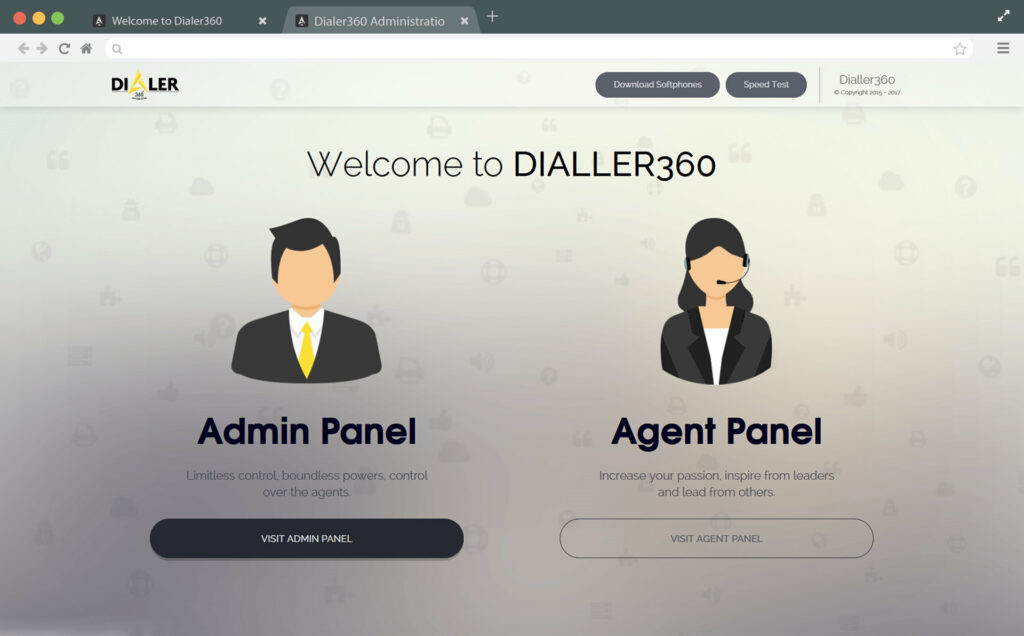
1
Click on visit admin panel button.
2
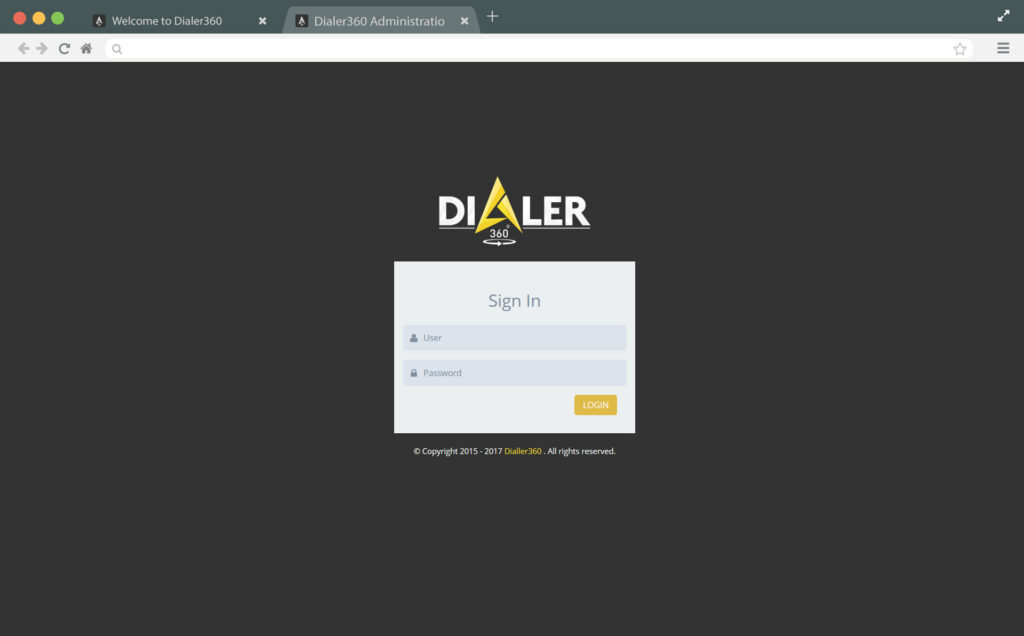
2
Add given login details into login form and click on Login Button.
2
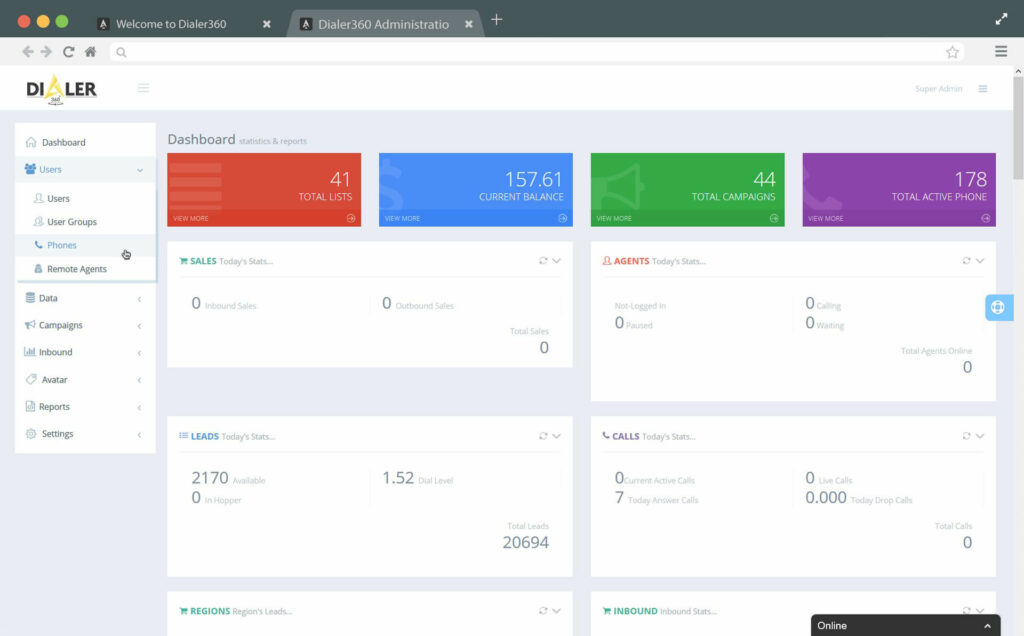
3
Click Phones button in Users section form left menu.

2
4
Check your phone no from phone list and Click on Edit button from actions column.
5
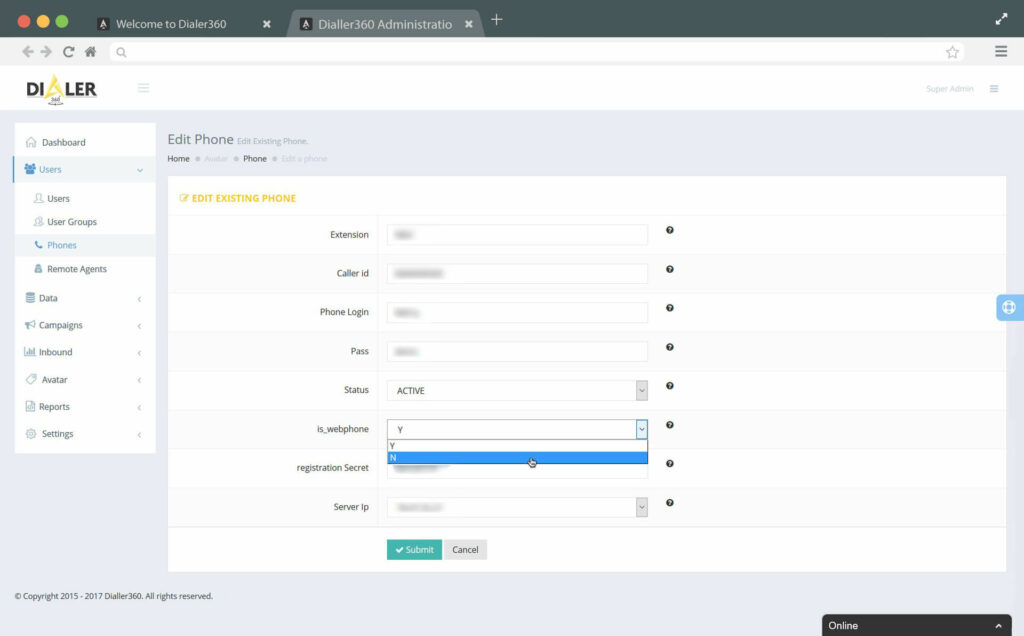
Select N from options with label is_webphone and hit Submit.
6
That’s it, your web-phone is now successfully disabled.
Step # 2
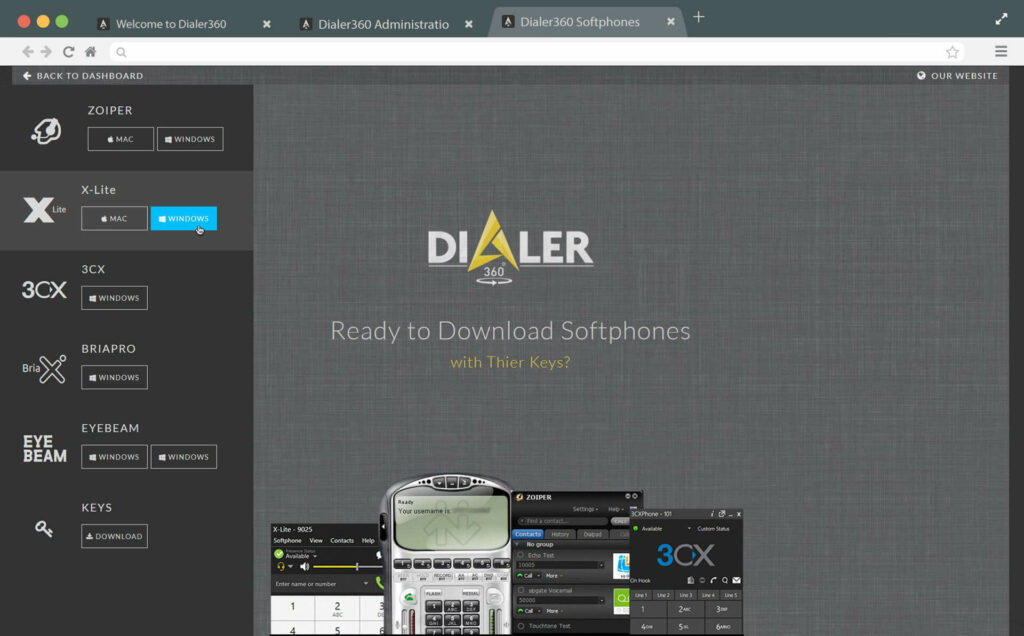
Download Soft-phone.You can use any Sip phone, in my case I am using X-lite
2
2
Download X-Lite latest version for windows or mac according to your OS.
3
Wait for downloading X-Lite .exe file.
Step # 3
Installation
2
1
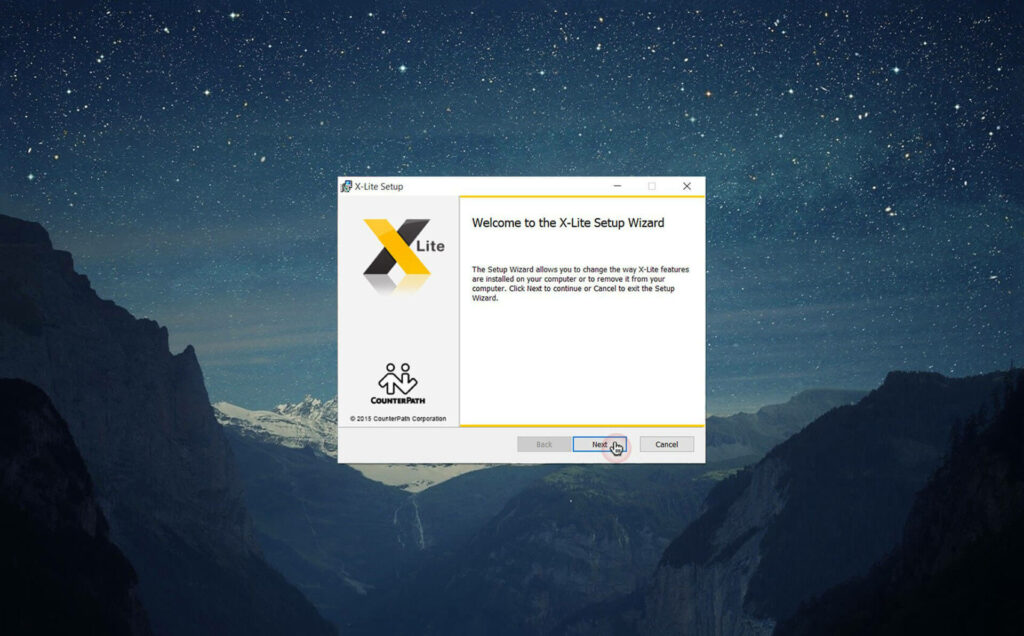
Run .exe file from your downloads folder and Click Next.
2
2
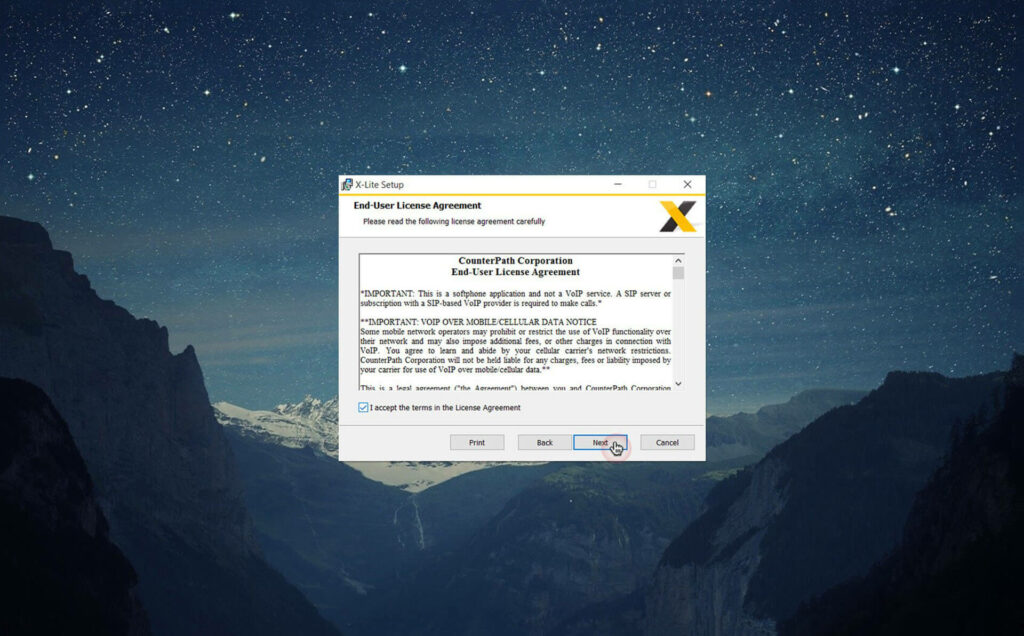
Accept terms and conditions, and Click Next.
2
3
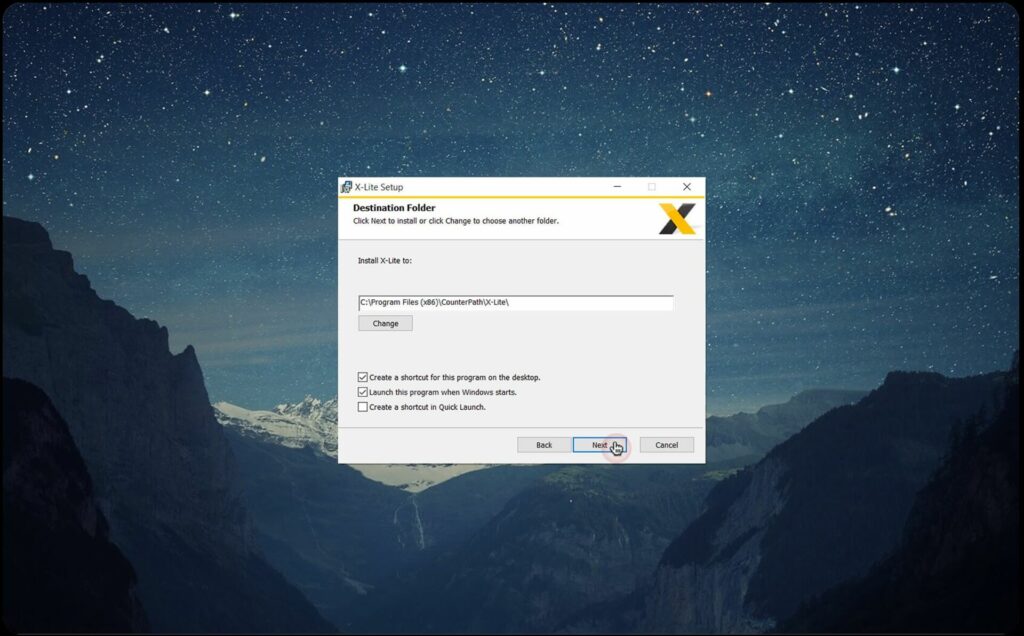
If you want to change destination folder you can otherwise Click Next.
2
4
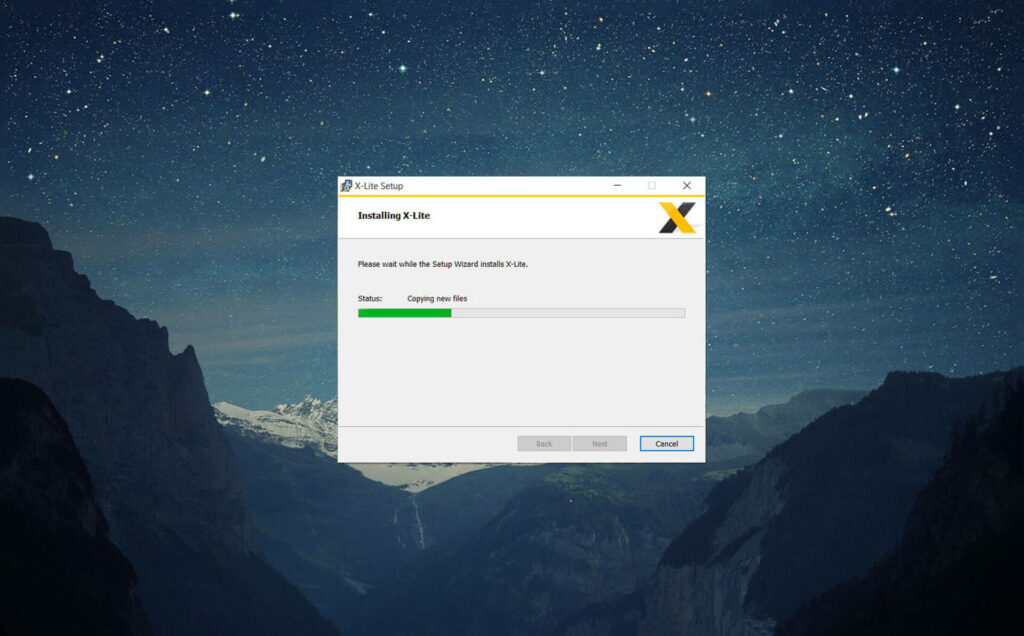
Now just click on install button to start installation.
5
Wait for a moment.
6
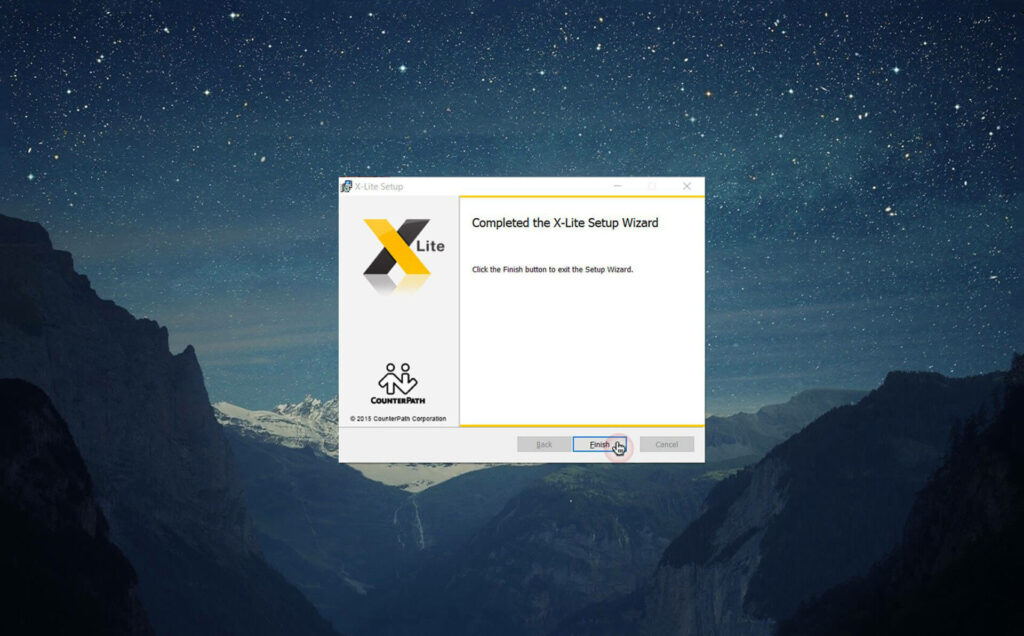
Congrats! Your X-Lite is successfully installed and ready to use, click Finish.
Step # 4
Configrations

2
1
Open X-Lite from your desktop shortcut.

2
2
Click Softphone -> Account Settings.

2
3
Add account details given to you.

2
4
Wait for a moment, your phone is getting ready with available sign.

2
5
That’s it, a green signal means you’re ready to go.
Step # 5
Connecting Agent Panel
2
1
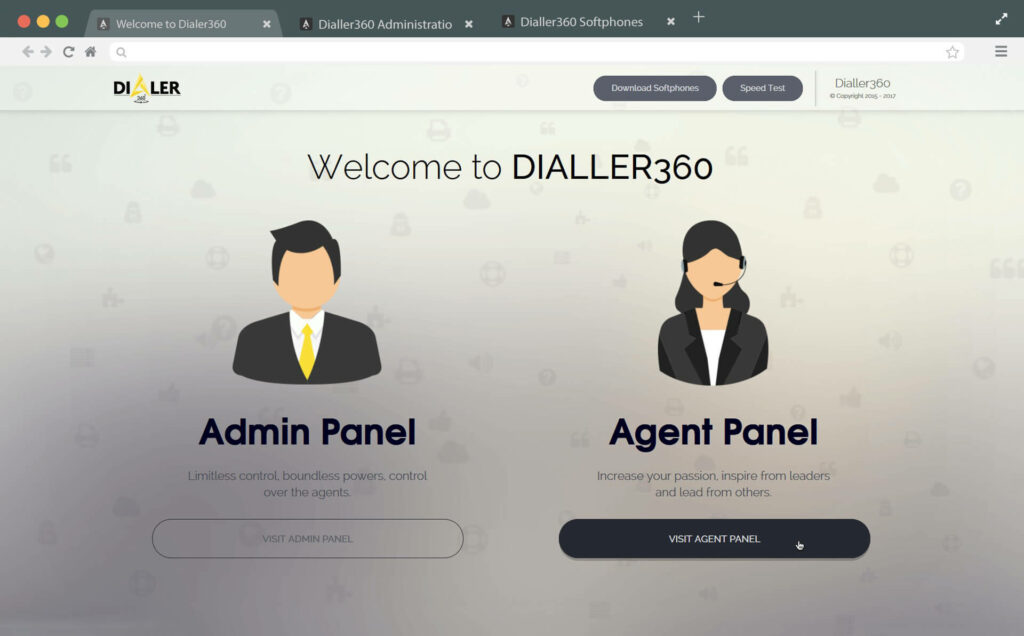
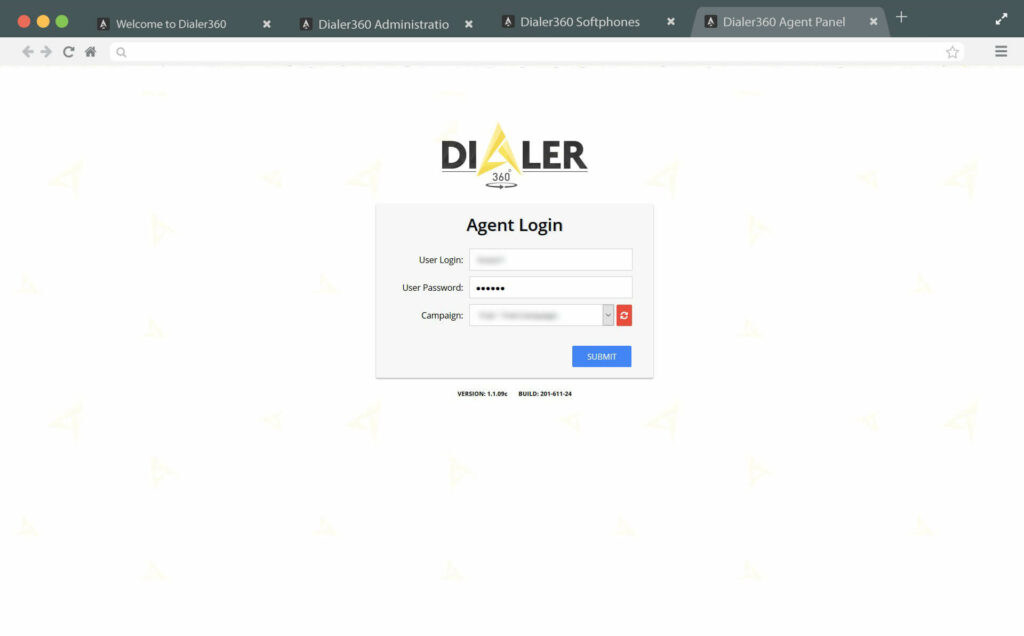
Go back to our landing page and click agent interface Button.
2
2
Add given login details into login form and select one of assigned campaigns or refresh campaign list with refresh button and hit Submit.
2
3
Wait for a moment while interface is building.
2
4
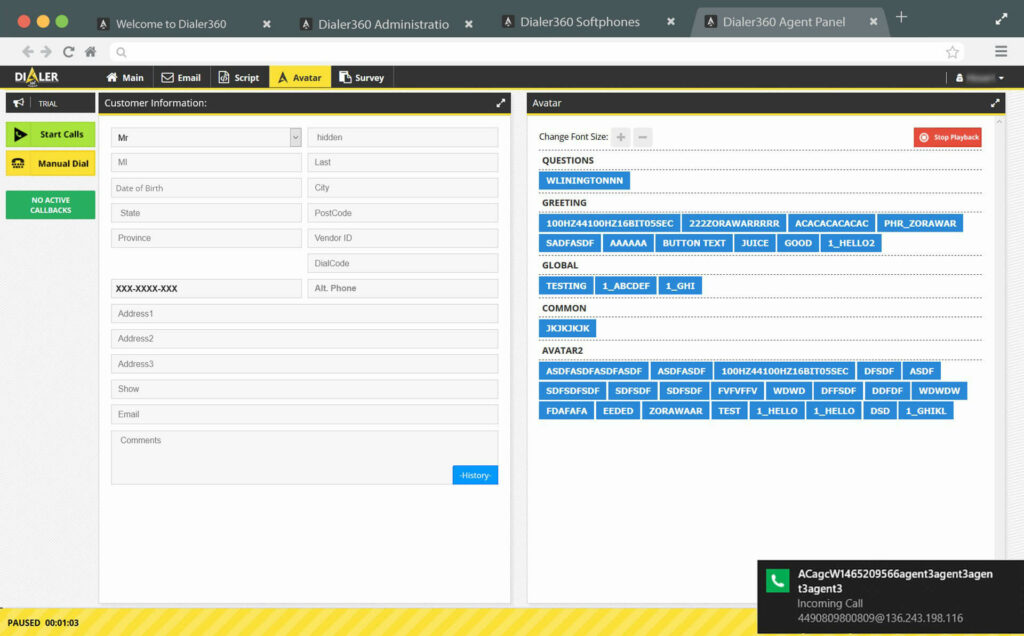
As you are logged in to your Agent Interface you’ll receive a call on your sip-phone which means connection is Ready to go.
