Skip to content
Login
Register
Home
Products
Ringless Voicemail
Auto Dialer
Predictive Dialer
Power Dialer
Progressive Dialer
Ai Dialer
Hosted PBX Services
Click To Call
Features
Agent Statusboard
Cheapest VoIP
TPS/DNC Filtering
Recording Portal
Display local caller id
CRM
Web phone
Internal Chat
PCI Compliant
AI Answering Machine Detection
Resources
Blog
Events
Videos
Glossary
Security & Compliance
Downloads
Knowledge Base
Pricing
Our Company
Why Dialer360
Become a Reseller
Clients Review
Support
Submit a Ticket
FAQ
Contact Us
Menu
Home
Products
Ringless Voicemail
Auto Dialer
Predictive Dialer
Power Dialer
Progressive Dialer
Ai Dialer
Hosted PBX Services
Click To Call
Features
Agent Statusboard
Cheapest VoIP
TPS/DNC Filtering
Recording Portal
Display local caller id
CRM
Web phone
Internal Chat
PCI Compliant
AI Answering Machine Detection
Resources
Blog
Events
Videos
Glossary
Security & Compliance
Downloads
Knowledge Base
Pricing
Our Company
Why Dialer360
Become a Reseller
Clients Review
Support
Submit a Ticket
FAQ
Contact Us
Home
Products
Ringless Voicemail
Auto Dialer
Predictive Dialer
Power Dialer
Progressive Dialer
Ai Dialer
Hosted PBX Services
Click To Call
Product
Auto Dialer
Hosted PBX Service
Call center software
Predictive Dialer
Ringless Voicemail
Inbound
Power Dialer
Click To Call
Outbound
Progressive Dialer
Virtual
AI Dialer
Product
Auto Dialer
Predictive Dialer
Power Dialer
Progressive Dialer
AI Dialer
Hosted PBX Service
RIngless Voicemail
Click To Call
Call center software
Inbound
Outbound
Virtual
Features
Agent Statusboard
Cheapest VoIP
TPS/DNC Filtering
Recording Portal
Display local caller id
CRM
Web phone
Internal Chat
PCI Compliant
AI Answering Machine Detection
Feature
Agent Statusboard
Cheapest VoIP
TPS/DNC Filtering
Recording Portal
Display local caller id
CRM
Web Phone
Internal chat
PCI compliant
AI Answering Machine Detection
Resources
Blog
Events
Videos
Glossary
Security & Compliance
Downloads
Knowledge Base
Resources
Blog
Events
Videos
Glossary
Security & Compliance
Downloads
Knowledge Base
Pricing
Our Company
Why Dialer360
Become a Reseller
Clients Review
Why Dialer360
Become a Reseller
Clients Review
Support
Submit a Ticket
FAQ
Contact Us
Submit a Ticket
FAQ
Contact Us
X
Blog
Home
>
2022
>
February
>
FAQs
>
How to manage avatars?
How to manage avatars?
Share on facebook
Share on twitter
Share on linkedin
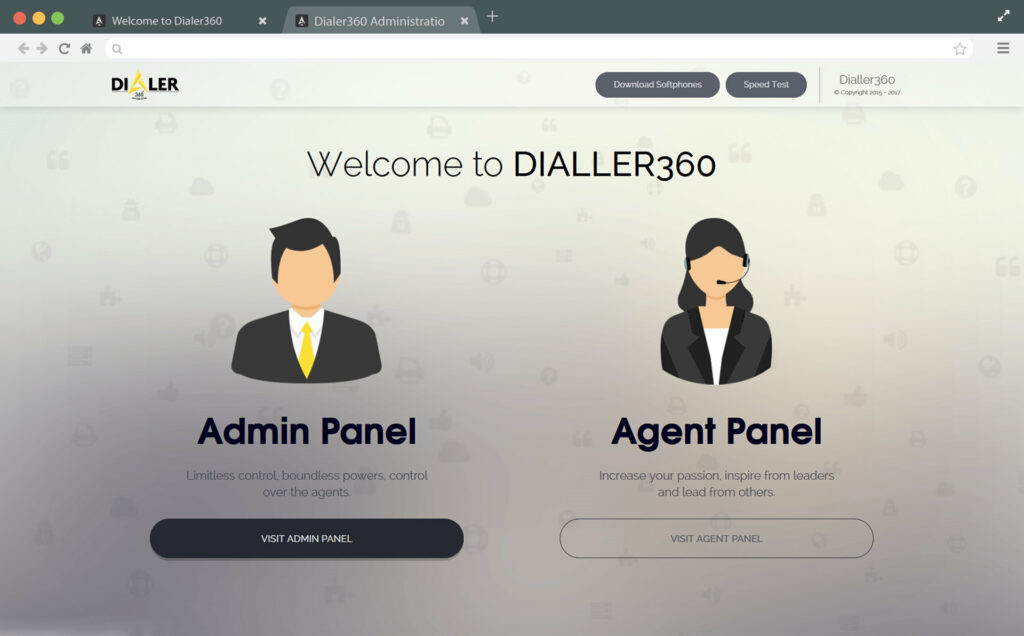
Step # 1
Login to admin panel
2
1
Click on visit admin panel button.
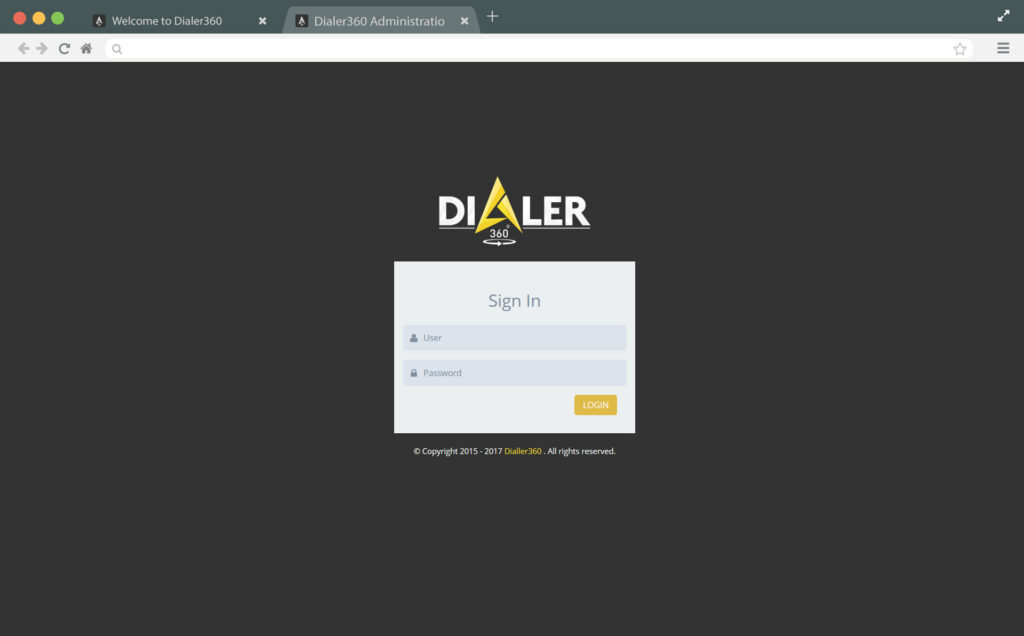
2
2
Add given login details into login form and click on Login Button.
Step # 2
Add new avatar Name
2
1
Click Avatar Names button Avatar section from left menu.
2
2
Click add new button.
2
3
Fill the form and click submit.
2
4
That’s it, Avatar name is successfully added and you are now ready to add sections and sound files in this Avatar.
Step # 3
Add new avatar sections
2
1
Click Manage Avatar button from left menu.
2
2
Select avatar name from drop down to manage avatar files and sections..
2
3
Click on Add Avatar Section button.
2
4
Add section name and click submit.
2
5
That’s it, section for avatar sound files in creates successfully.
Step # 4.1
Add new avatar sound file in a section
2
1
Click on Add Avatar Sound button.
2
2
Fill the form, browse audio file and hit submit.
Note! Please convert your files to wav format before uploading.
2
3
Single sound file is added to selected section successfully.
Step # 4.2
Add multiple avatar sound files in a section
2
1
Click on Add Multiple Avatar Sounds button.
2
2
Select section and browse multiple files to upload.
2
3
Multiple files added successfully.
Step # 5
Re-arrange sounds and sections
2
1
Click up arrow in top right toolbar of each section to move one section up.
2
2
Click down arrow in top right toolbar of each section to move one section down.
2
3
Drag and Drop section.
2
4
Drag and Drop sound files in the section or to another section.
Step # 6
Delete sound files
2
1
Mouse over the sound file in section and click on delete button.
2
2
Confirm to delete.
2
3
Avatar sound file is successfully deleted.